 android的flutter上手
# android 开发者的 flutter 快速上手指南
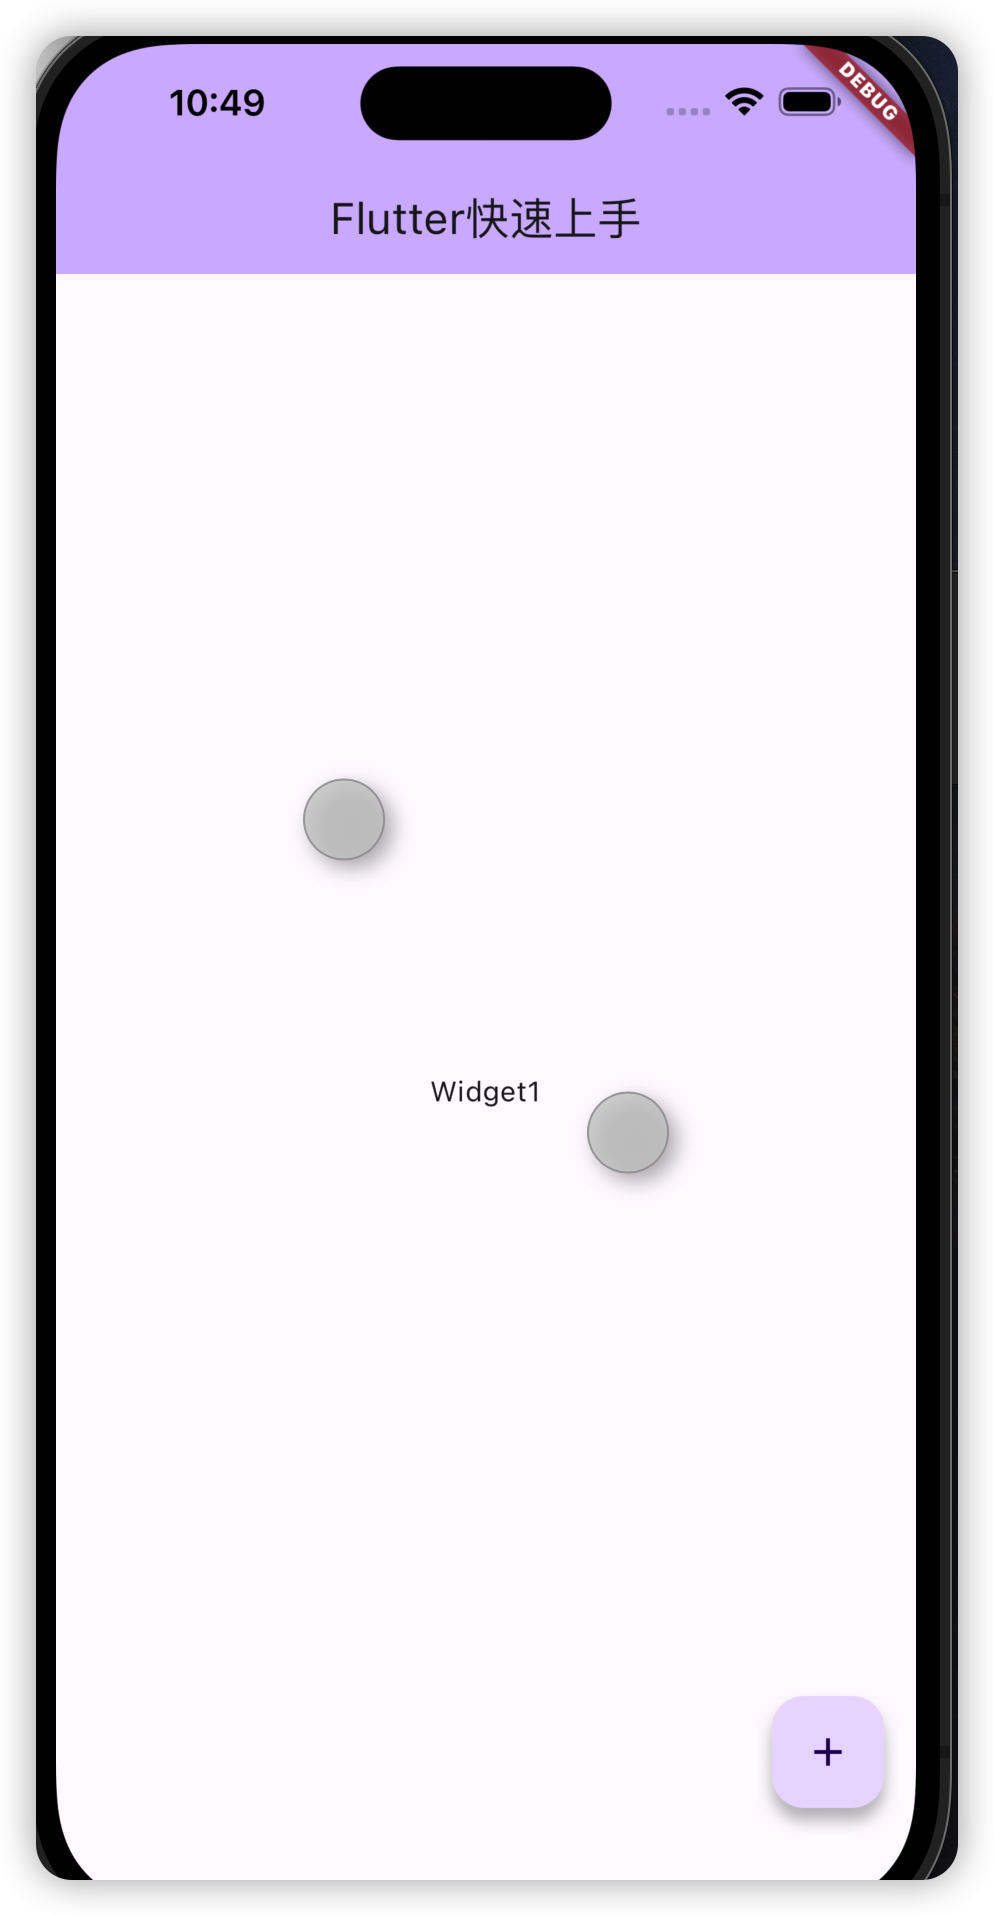
# 通过按钮和变量来变更内容
import 'package:flutter/material.dart';
void main() {
runApp(const MyApp());
}
class MyApp extends StatelessWidget {
const MyApp({super.key});
// This widget is the root of your application.
Widget build(BuildContext context) {
return MaterialApp(
title: '快速上手 Flutter',
theme: ThemeData(
colorScheme: ColorScheme.fromSeed(seedColor: Colors.deepPurple),
useMaterial3: true,
),
home: const MyHomePage(title: 'Flutter快速上手'),
);
}
}
class MyHomePage extends StatefulWidget {
const MyHomePage({super.key, required this.title});
final String title;
State<MyHomePage> createState() => _MyHomePageState();
}
class _MyHomePageState extends State<MyHomePage> {
// 变量来实现页面内容切换
bool _toggle = true;
get _dyWidget => _toggle ? const Text('Widget1') : Text('widget2');
Widget build(BuildContext context) {
return Scaffold(
appBar: AppBar(
backgroundColor: Theme.of(context).colorScheme.inversePrimary,
title: Text(widget.title),
),
body: Center(
child: _dyWidget),
floatingActionButton: FloatingActionButton(
onPressed: _updateWidget,
tooltip: 'Update',
child: const Icon(Icons.add),
),
);
}
void _updateWidget() {
setState(() {
_toggle = !_toggle;
});
}
}
1
2
3
4
5
6
7
8
9
10
11
12
13
14
15
16
17
18
19
20
21
22
23
24
25
26
27
28
29
30
31
32
33
34
35
36
37
38
39
40
41
42
43
44
45
46
47
48
49
50
51
52
53
54
55
56
57
58
59
60
61
62
2
3
4
5
6
7
8
9
10
11
12
13
14
15
16
17
18
19
20
21
22
23
24
25
26
27
28
29
30
31
32
33
34
35
36
37
38
39
40
41
42
43
44
45
46
47
48
49
50
51
52
53
54
55
56
57
58
59
60
61
62
# 创建自定义的控件(widget)
在vscode或者android studio中输入stl关键字就会给你自动生成一个快捷模板
// 创建自定义 widget
class TipsWidget extends StatelessWidget {
const TipsWidget({super.key});
Widget build(BuildContext context) {
return const Text('this is a tips');
}
}
1
2
3
4
5
6
7
8
9
2
3
4
5
6
7
8
9
然后就可以在上面主控件里进行加载即可
# 添加一个动态列表
class _MyHomePageState extends State<MyHomePage> {
  String tips = "";
  bool _toggle = true;

  get _dyWidget => _toggle ? const Text('Widget1') : Text('widget2');
  get _listView => ListView(
        children: [
          Text('快速上手1 flutter1'),
          Text('快速上手1 flutter2'),
          Text(
            '快速上手1',
            style: TextStyle(fontSize: 260),
          ),
        ],
      );
};
1
2
3
4
5
6
7
8
9
10
11
12
13
14
15
16
2
3
4
5
6
7
8
9
10
11
12
13
14
15
16
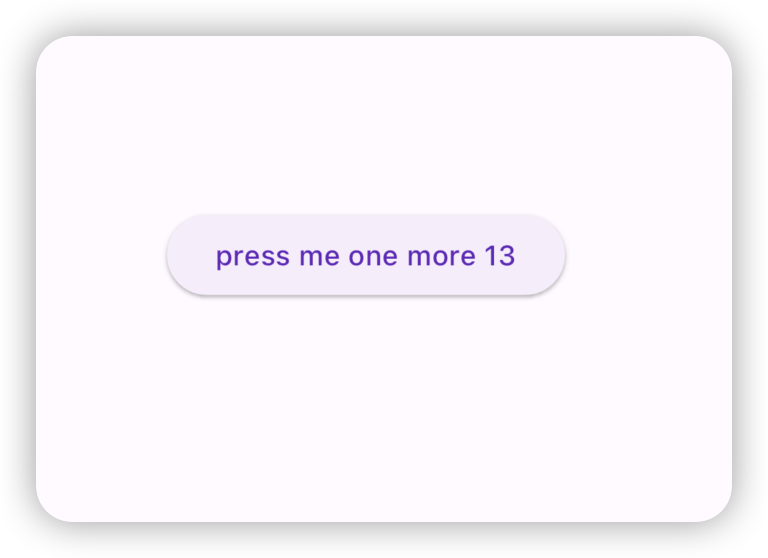
# 手势事件
# 监听widget的手势方法
import 'package:flutter/material.dart';
void main() {
runApp(const MyApp());
}
class MyApp extends StatelessWidget {
const MyApp({super.key});
// This widget is the root of your application.
Widget build(BuildContext context) {
return MaterialApp(
title: '快速上手 Flutter',
theme: ThemeData(
colorScheme: ColorScheme.fromSeed(seedColor: Colors.deepPurple),
useMaterial3: true,
),
home: const MyHomePage(title: 'Flutter快速上手'),
);
}
}
class MyHomePage extends StatefulWidget {
const MyHomePage({super.key, required this.title});
// This widget is the home page of your application. It is stateful, meaning
// that it has a State object (defined below) that contains fields that affect
// how it looks.
// This class is the configuration for the state. It holds the values (in this
// case the title) provided by the parent (in this case the App widget) and
// used by the build method of the State. Fields in a Widget subclass are
// always marked "final".
final String title;
State<MyHomePage> createState() => _MyHomePageState();
}
class _MyHomePageState extends State<MyHomePage> {
int _count = 0;
Widget build(BuildContext context) {
// This method is rerun every time setState is called, for instance as done
// by the _incrementCounter method above.
//
// The Flutter framework has been optimized to make rerunning build methods
// fast, so that you can just rebuild anything that needs updating rather
// than having to individually change instances of widgets.
return Scaffold(
appBar: AppBar(
// TRY THIS: Try changing the color here to a specific color (to
// Colors.amber, perhaps?) and trigger a hot reload to see the AppBar
// change color while the other colors stay the same.
backgroundColor: Theme.of(context).colorScheme.inversePrimary,
// Here we take the value from the MyHomePage object that was created by
// the App.build method, and use it to set our appbar title.
title: Text(widget.title),
),
body: Center(
// Center is a layout widget. It takes a single child and positions it
// in the middle of the parent.
child: ElevatedButton(
child: Text('press me one more $_count'),
onPressed: () {
setState(() {
_count++;
});
},
)),
floatingActionButton: FloatingActionButton(
onPressed: _updateWidget,
tooltip: 'Update',
child: const Icon(Icons.add),
), // This trailing comma makes auto-formatting nicer for build methods.
);
}
}
1
2
3
4
5
6
7
8
9
10
11
12
13
14
15
16
17
18
19
20
21
22
23
24
25
26
27
28
29
30
31
32
33
34
35
36
37
38
39
40
41
42
43
44
45
46
47
48
49
50
51
52
53
54
55
56
57
58
59
60
61
62
63
64
65
66
67
68
69
70
71
72
73
74
75
76
77
78
79
80
81
2
3
4
5
6
7
8
9
10
11
12
13
14
15
16
17
18
19
20
21
22
23
24
25
26
27
28
29
30
31
32
33
34
35
36
37
38
39
40
41
42
43
44
45
46
47
48
49
50
51
52
53
54
55
56
57
58
59
60
61
62
63
64
65
66
67
68
69
70
71
72
73
74
75
76
77
78
79
80
81
# GestureDetector 的使用
body: Center(
  // Center is a layout widget. It takes a single child and positions it
  // in the middle of the parent.
  child: GestureDetector(
child: Text('press me one more $_count'),
onTap: () {
  setState(() {
    _count++;
  });
},
)),
1
2
3
4
5
6
7
8
9
10
11
2
3
4
5
6
7
8
9
10
11
点击事件,点击GestureDetector查看源码还有很多的事件。
编辑 (opens new window)
上次更新: 2023/06/19, 22:05:34